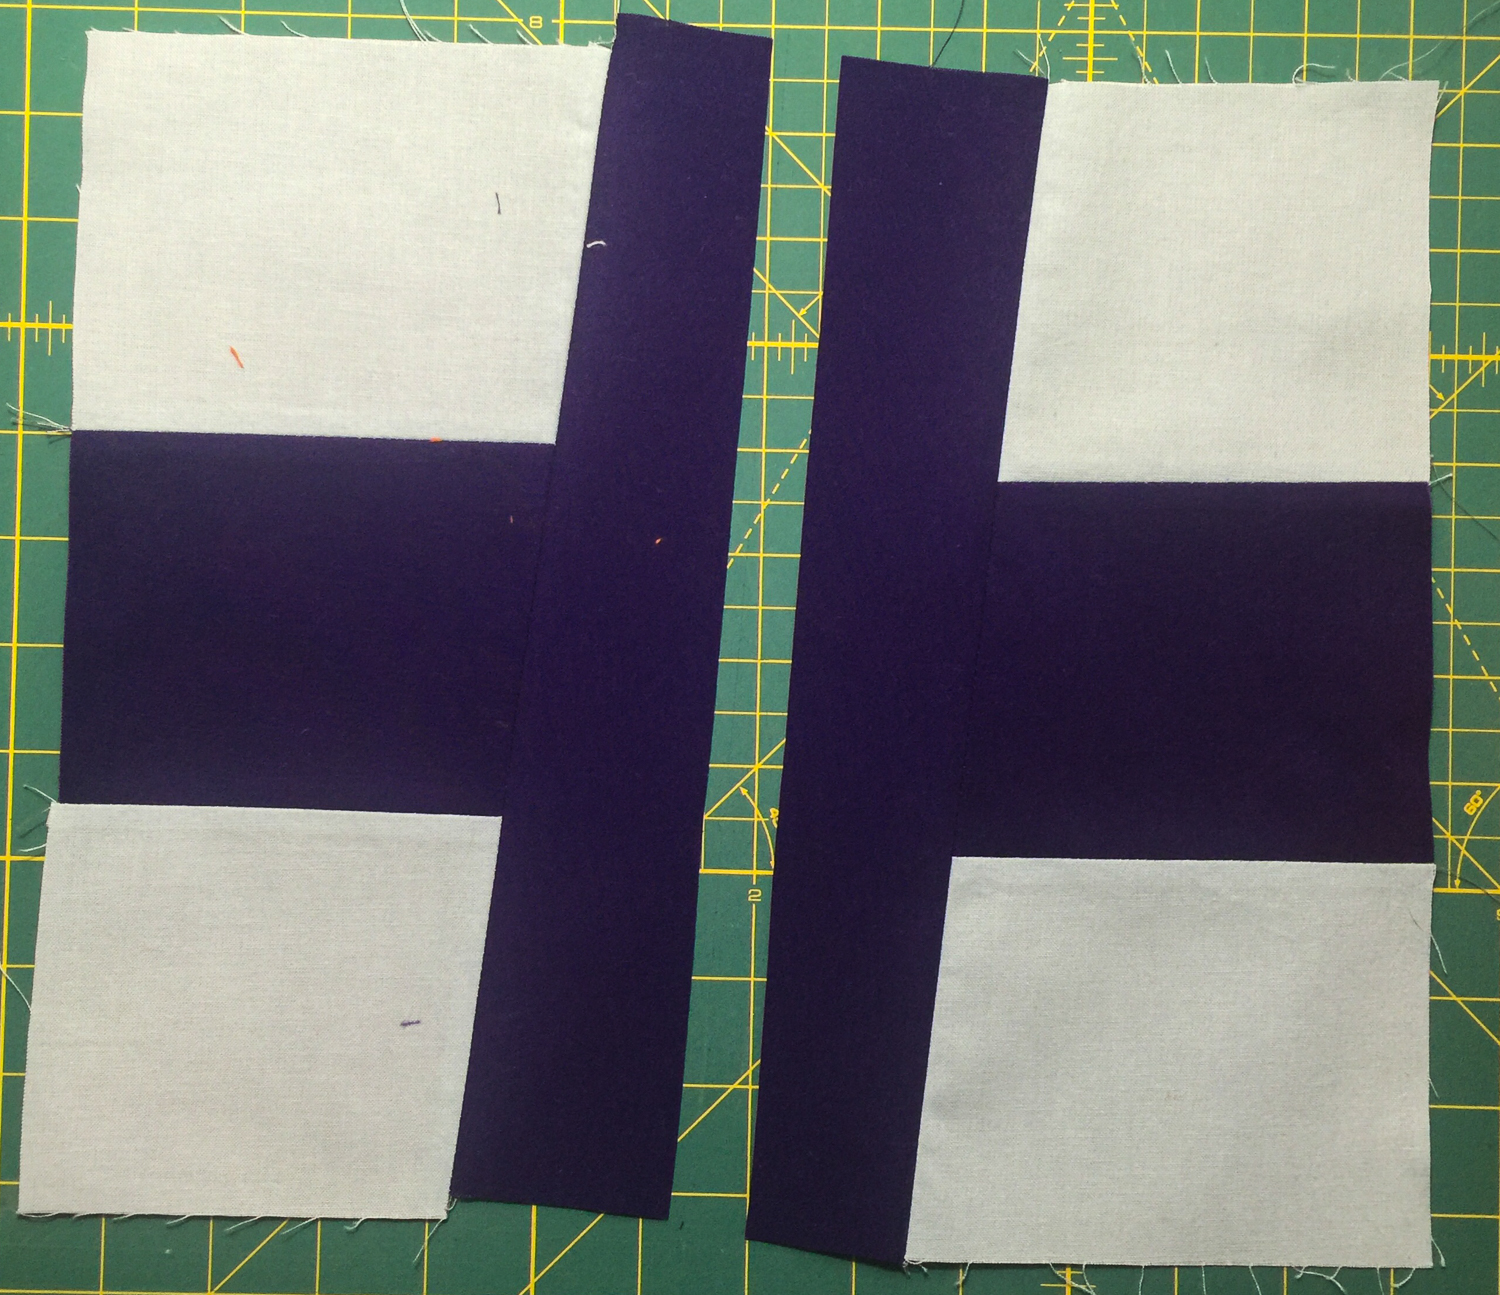
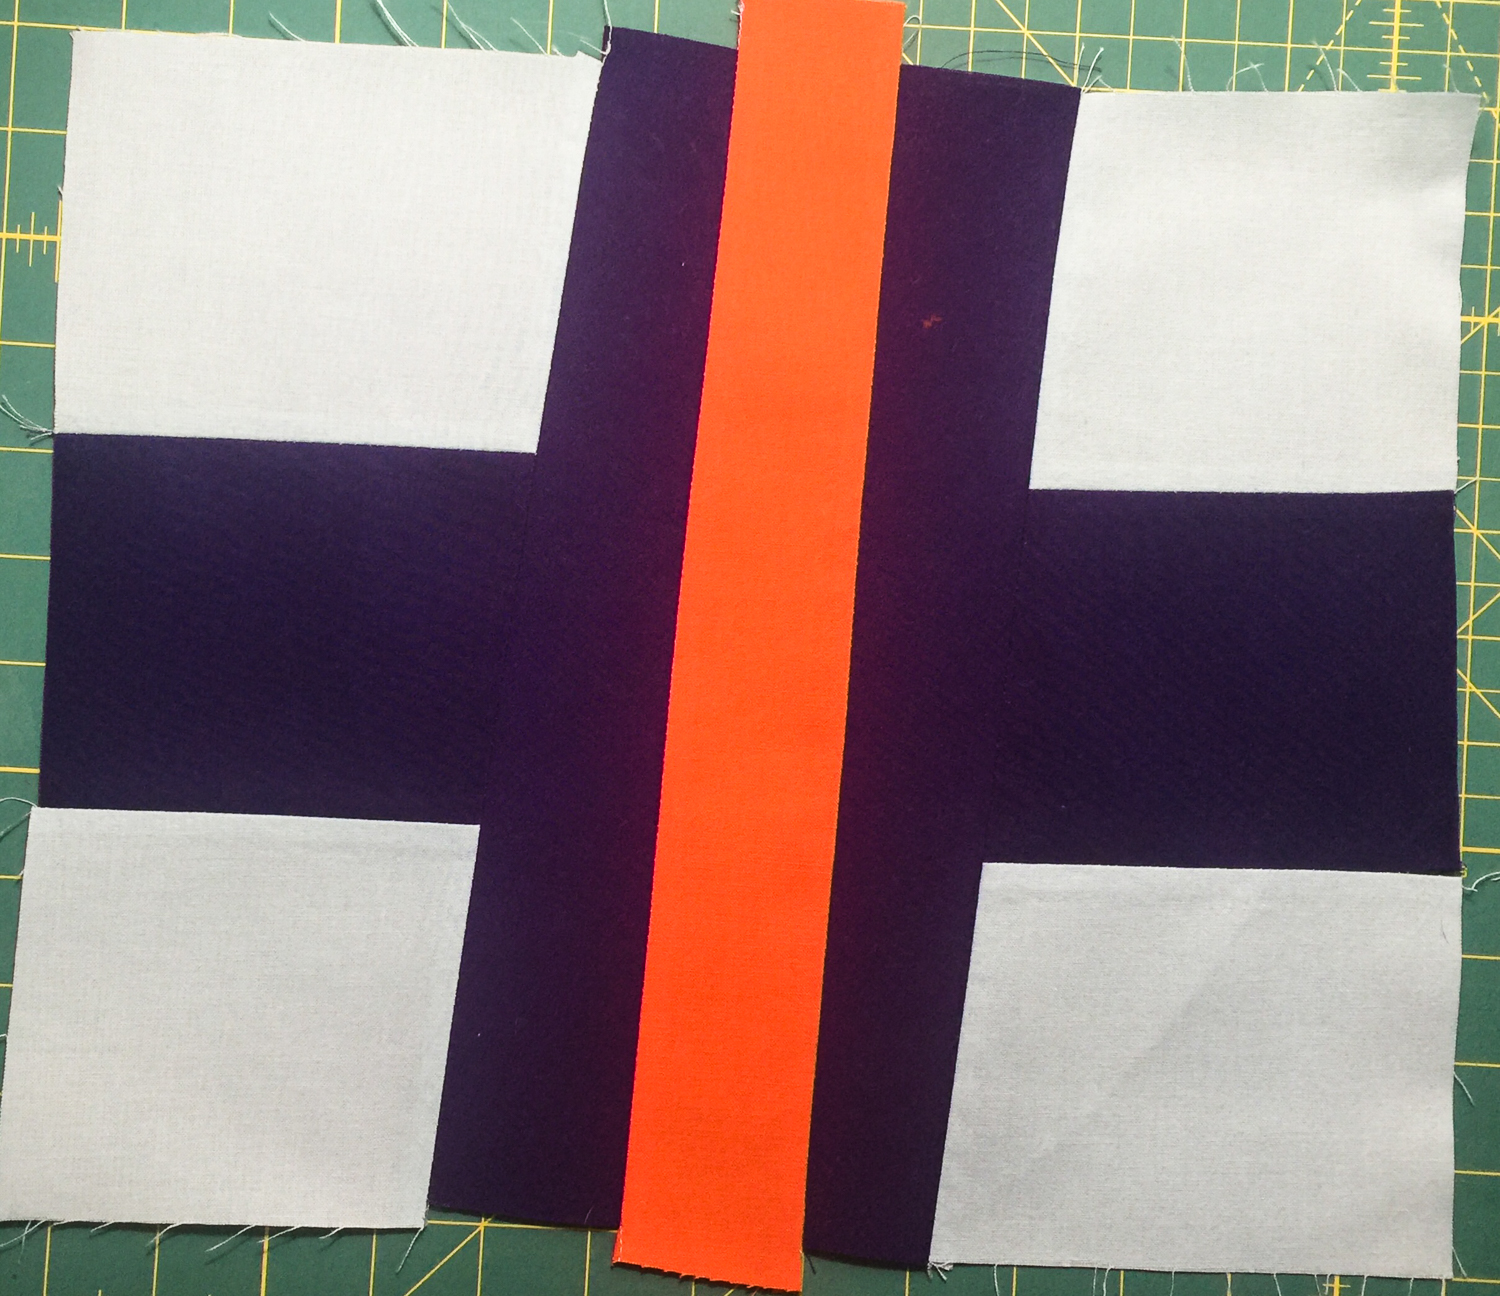
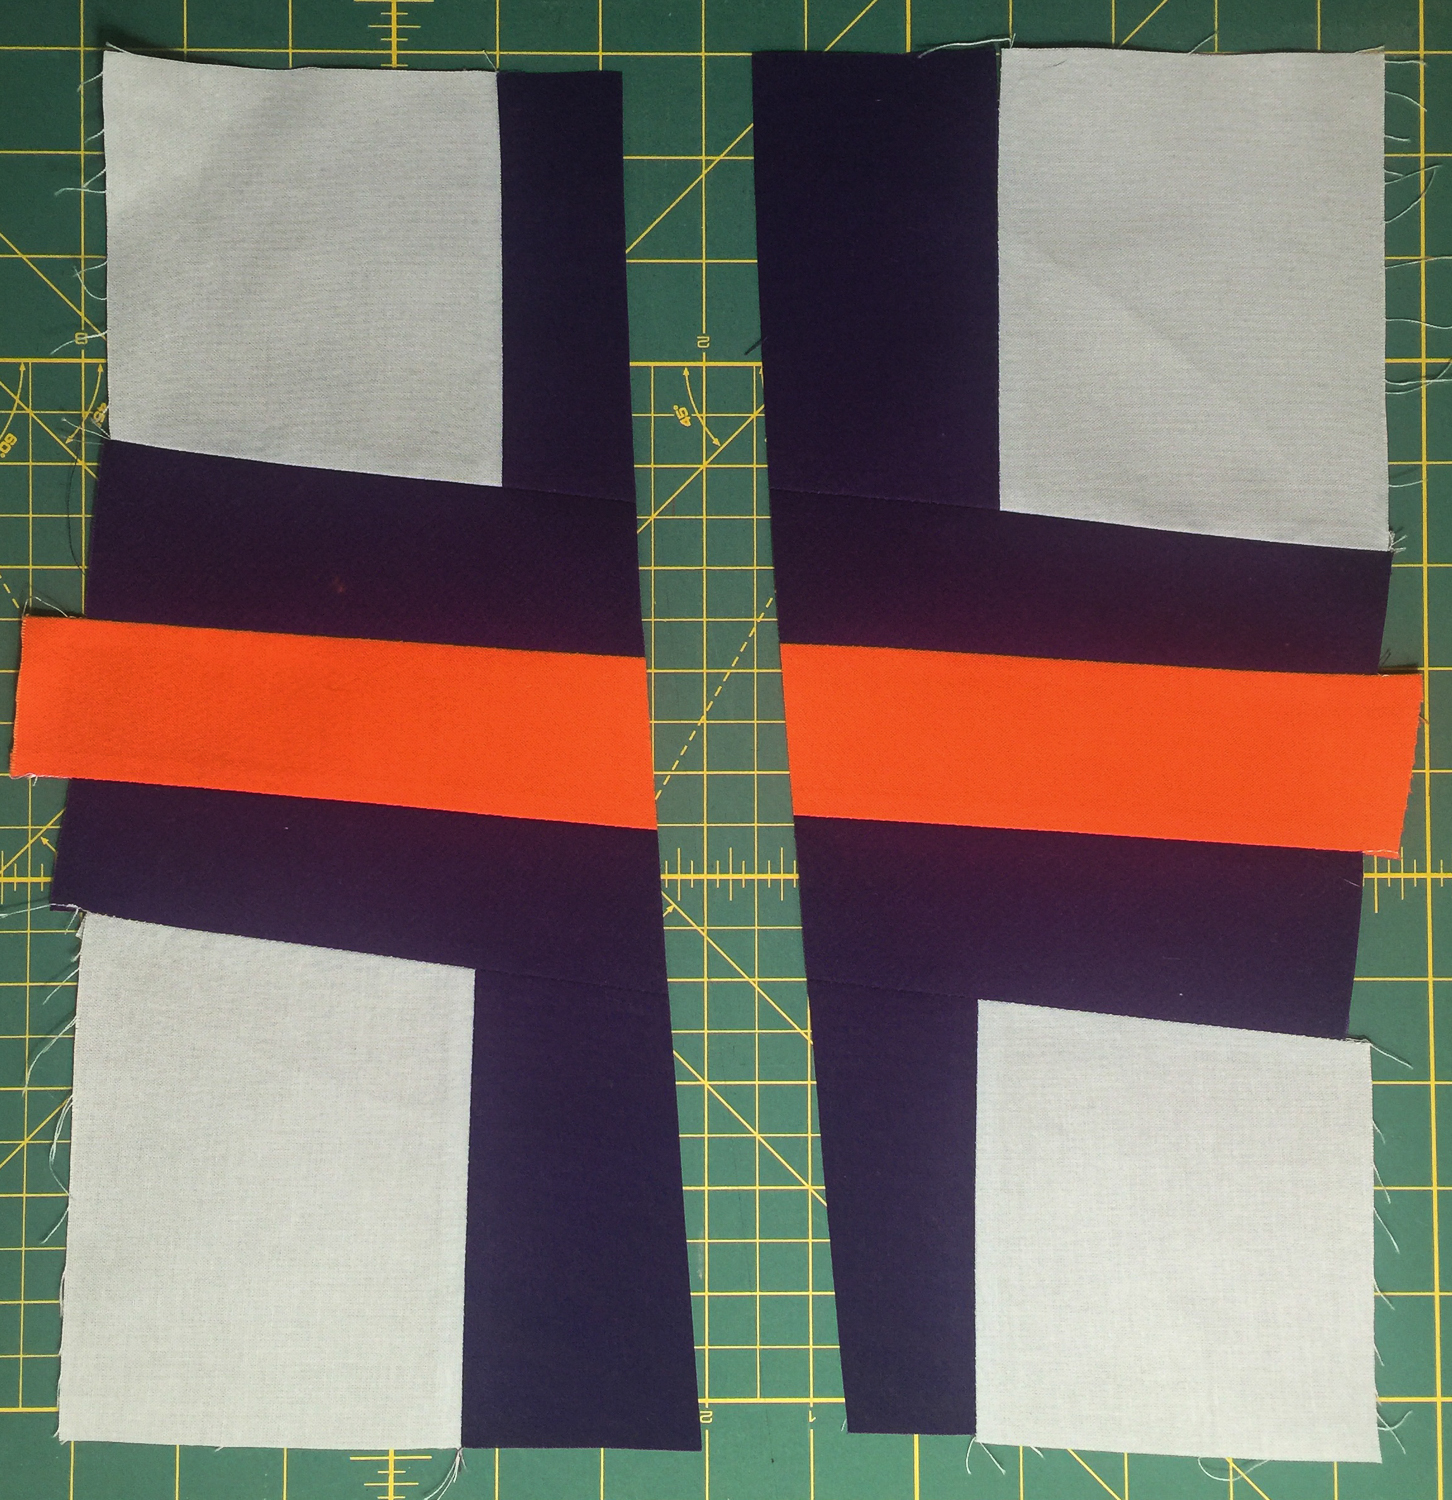
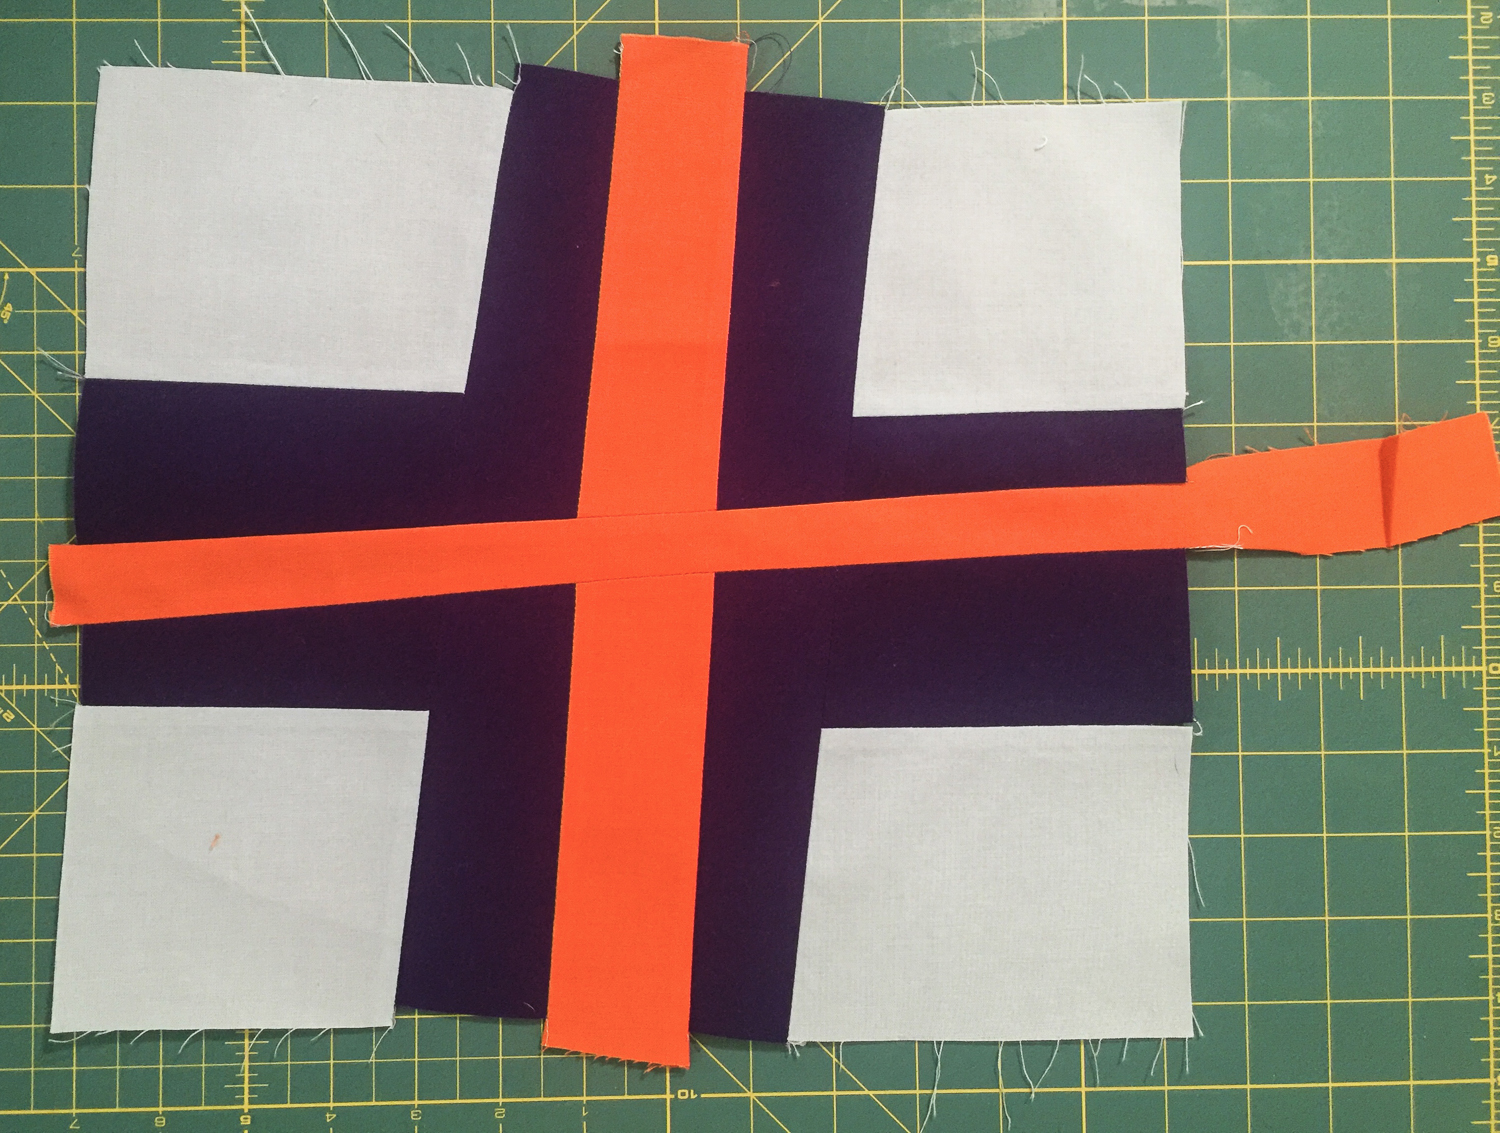
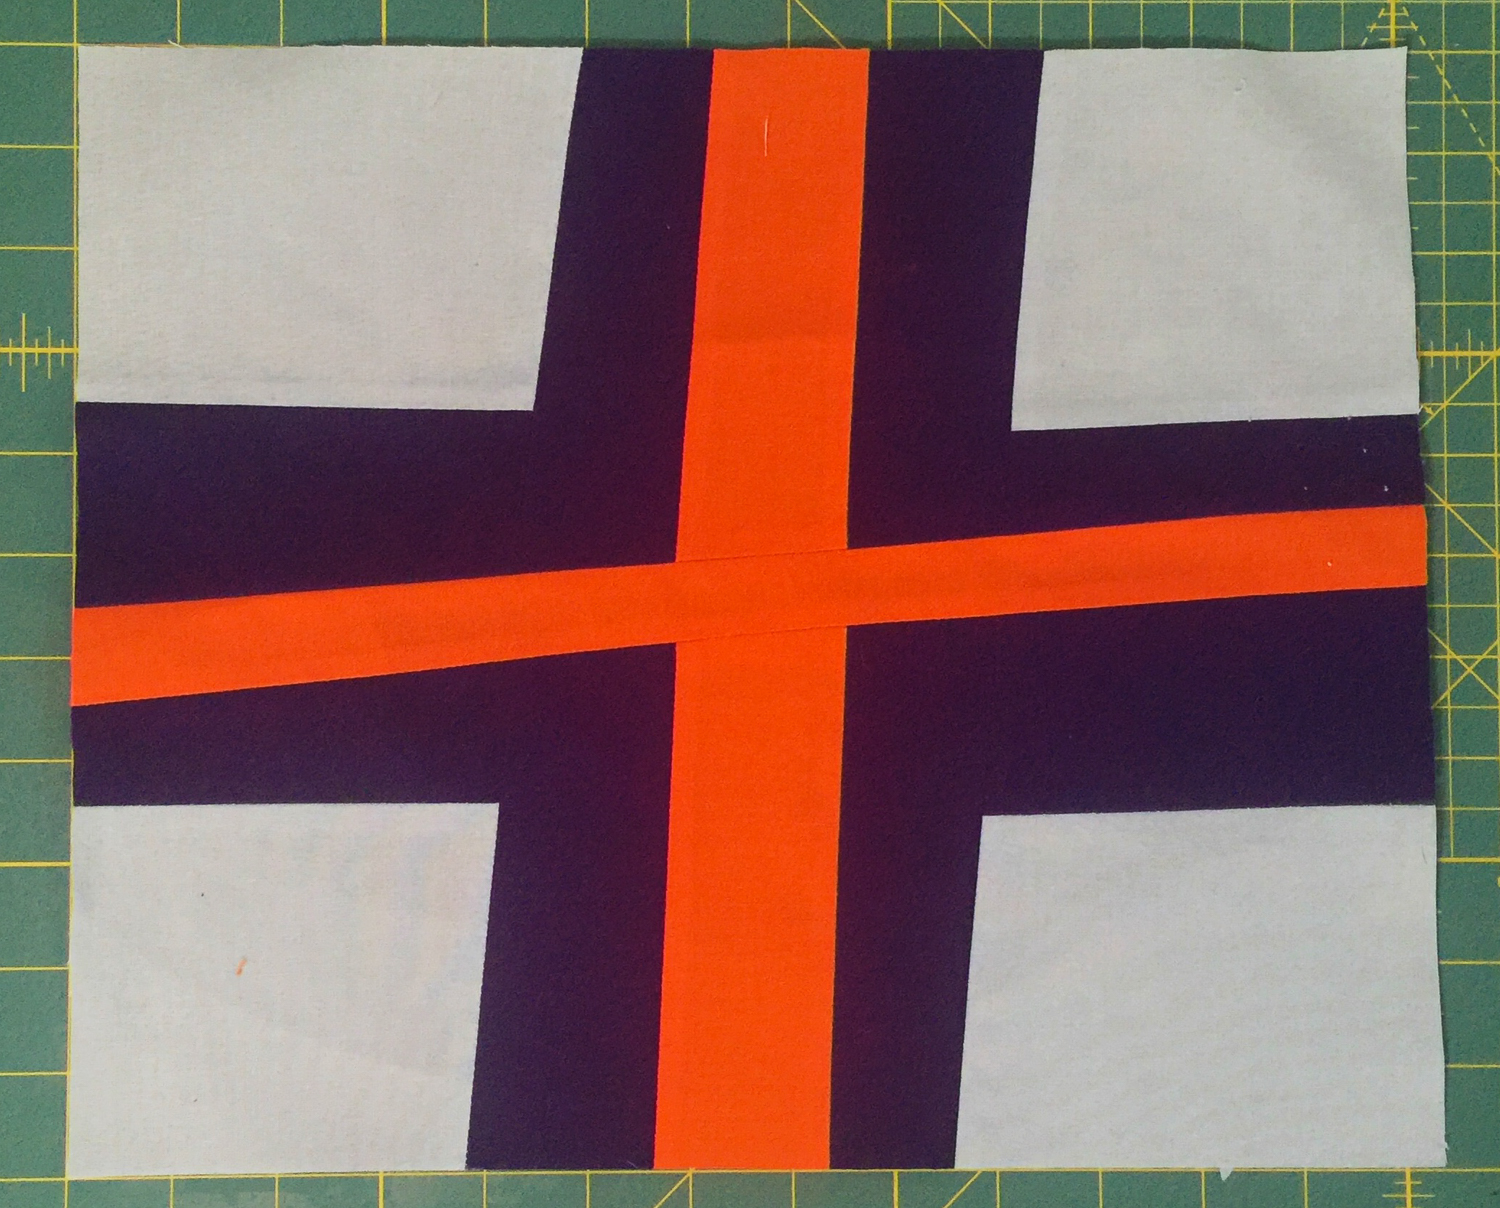
It’s January and my turn to lead the quilt for the Love Circle of do Good Stitches. This month I’m asking my hive mates to embark on some gentle improv with a quilt based on the Double Cross pattern by Pam Rocco (available free from Quilters Newsletter).
Color palette
I’ve chosen a strong palette of colors - purple, fuchsia. orange, red, and blue. I think the quilt would look wonderful in all solids, but my hive mates can mix in some patterns too, as long as they read in line with the palette in terms of color and value.
The key to success with this design is careful selection of fabric by value. Value is a word used to describe the lightness or darkness of a color. It’s often said that value is more important than hue (color) in fine art painting - and the same applies to quilt design. Have you ever tried taking of photo of some fabrics you’ve pulled for a quilt, or of a layout on your design wall, and then converted that photo to black and white? It’s so easy to do now with the cameras on smartphones! Doing so will tell you a lot about the color value of the choices you are making, and help you ensure you have the right amount of contrast and definition in your design. Many modern quilters are making such clever use of value to create really bold, beautiful design work at the moment.
For this quilt, every block is constructed using a low, medium and high value fabric (or dark, medium and light, if you prefer). I am calling this pattern “gentle” improv, because it’s a great way of dipping your toes in the water with improv. Try putting aside the rulers and cutting with just your rotary cutter. A few slightly wonky lines will add a lot of interest and a lovely organic “squidginess” to the blocks and the final layout of this quilt.
The pattern gives specific measurements for the parts of each block, but you could just as easily cut your shapes somewhat randomly and make the outcome even more improvisational. And equally, if letting go of that ruler proves too difficult, you can get a great result by just making sure to angle some of your lines so that your crosses are not too perfect!
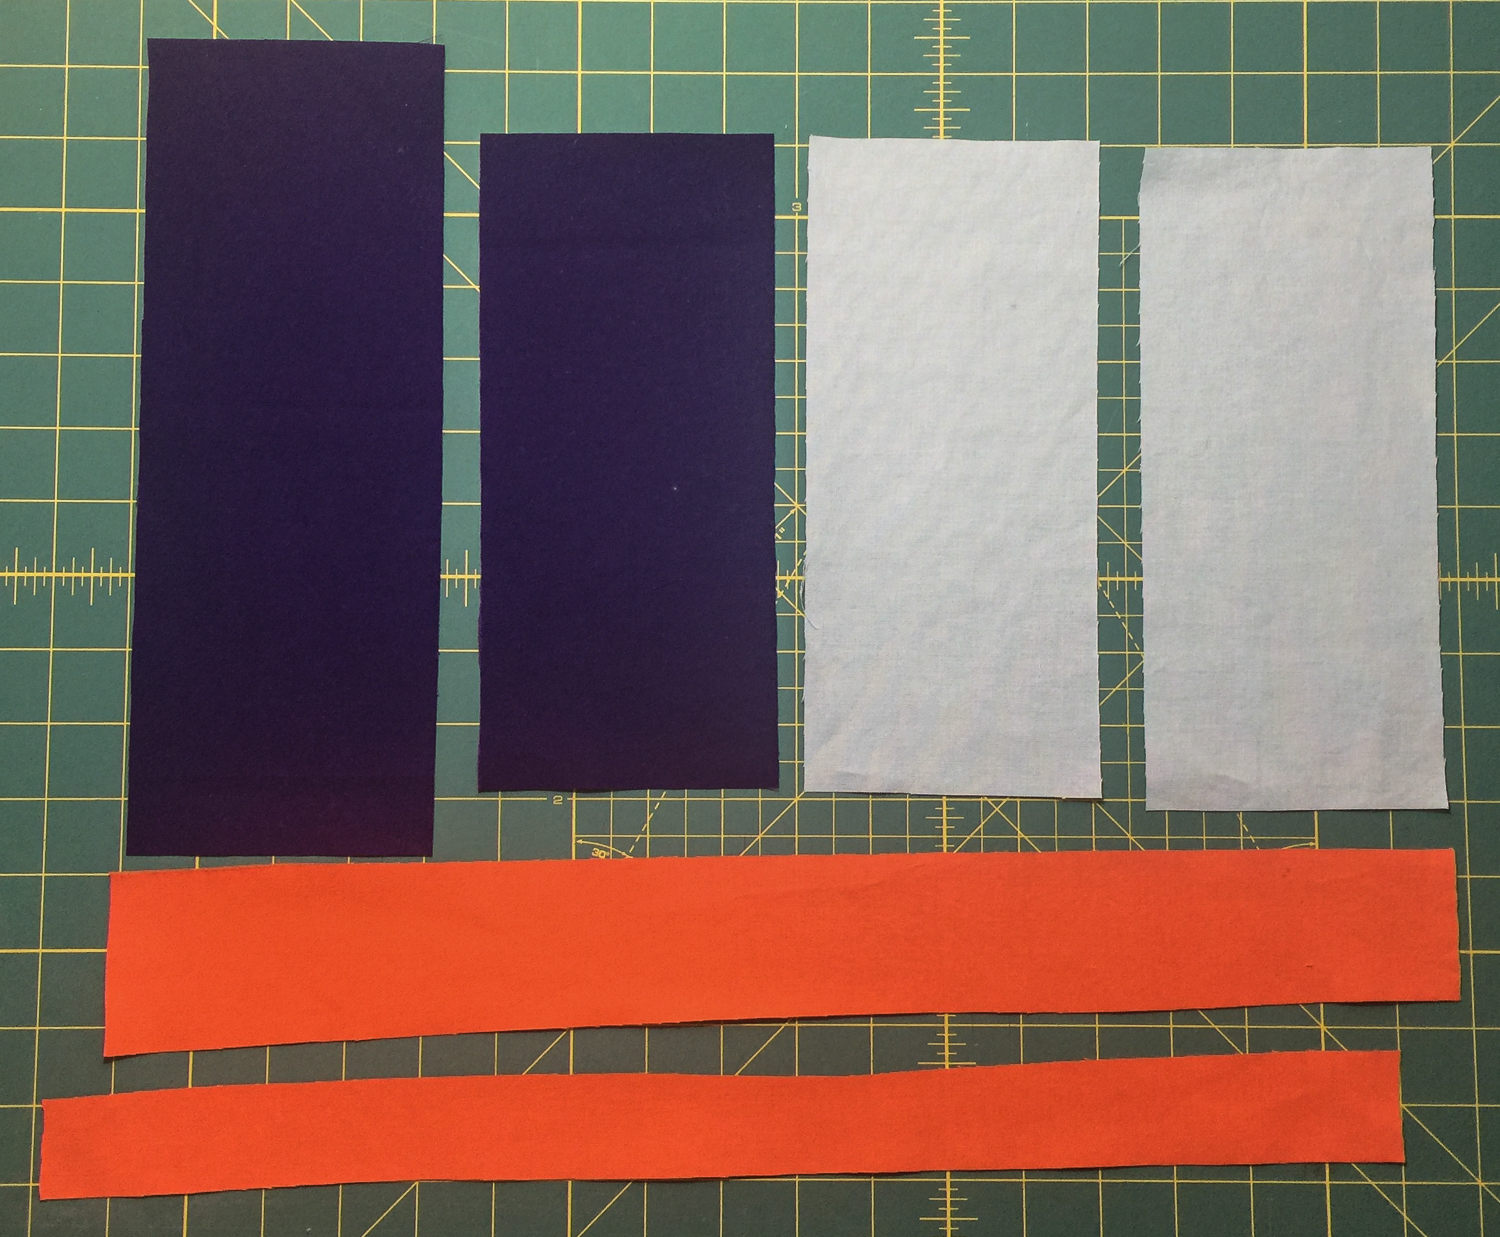
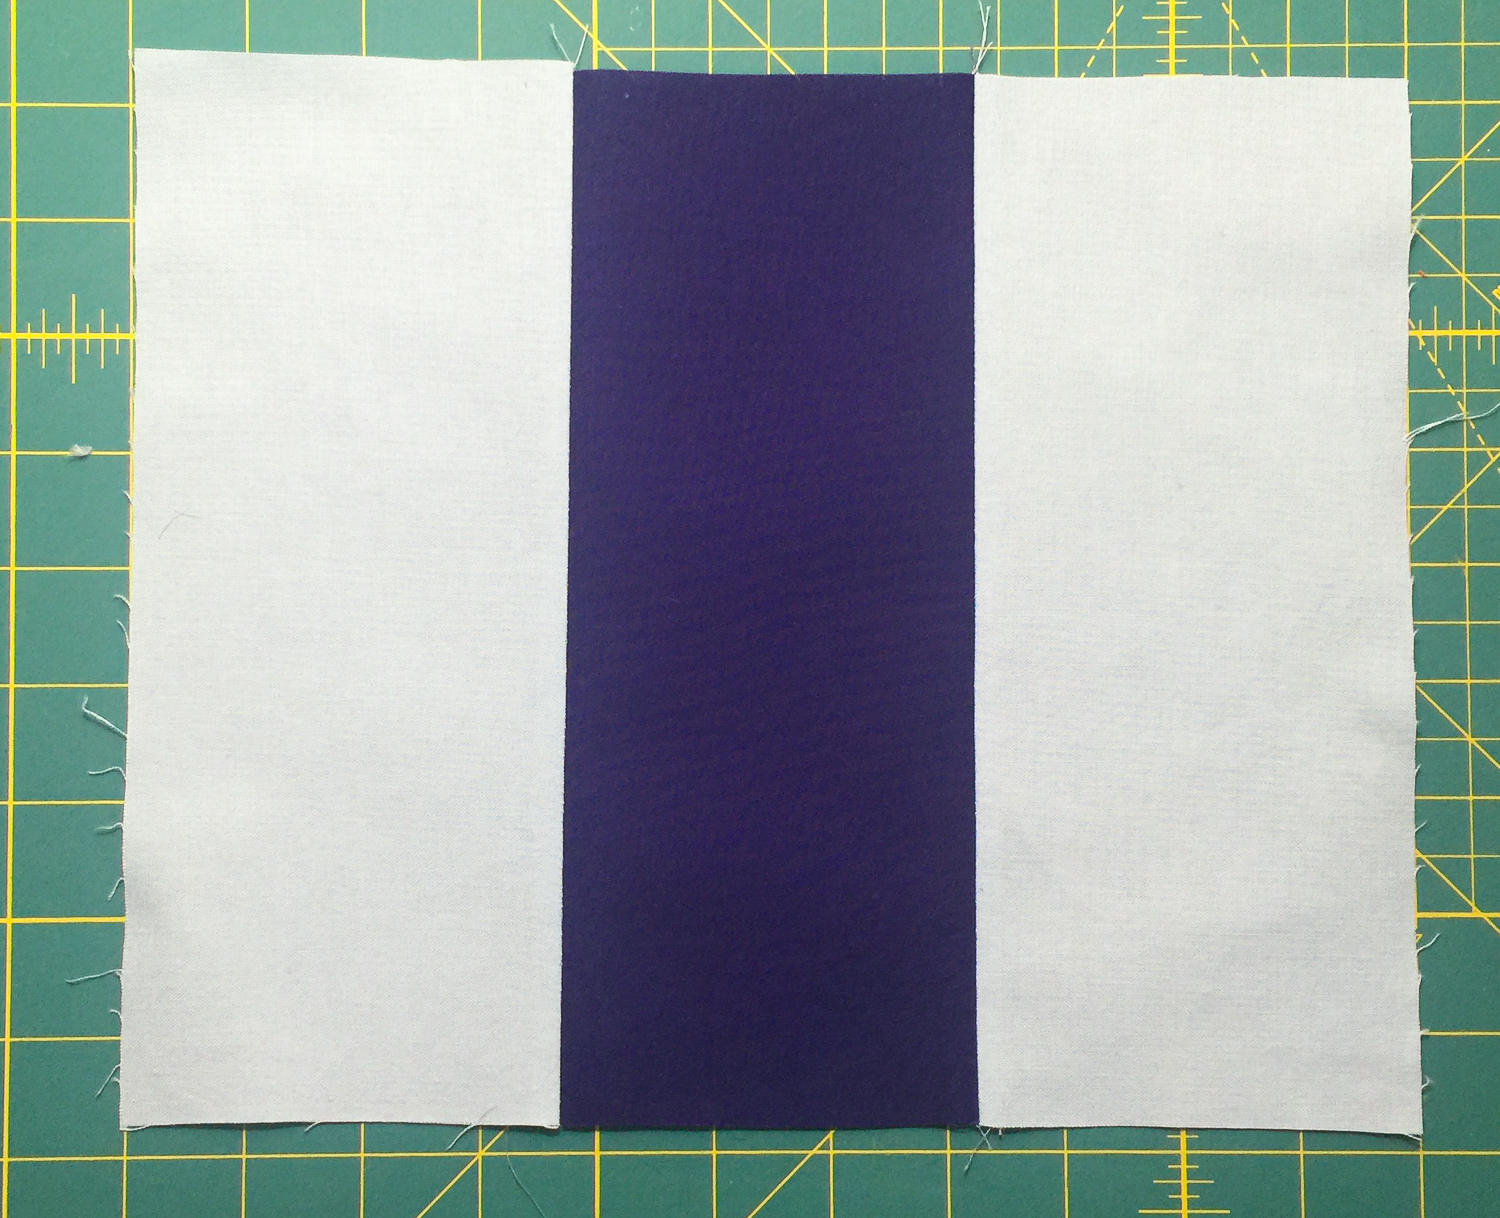
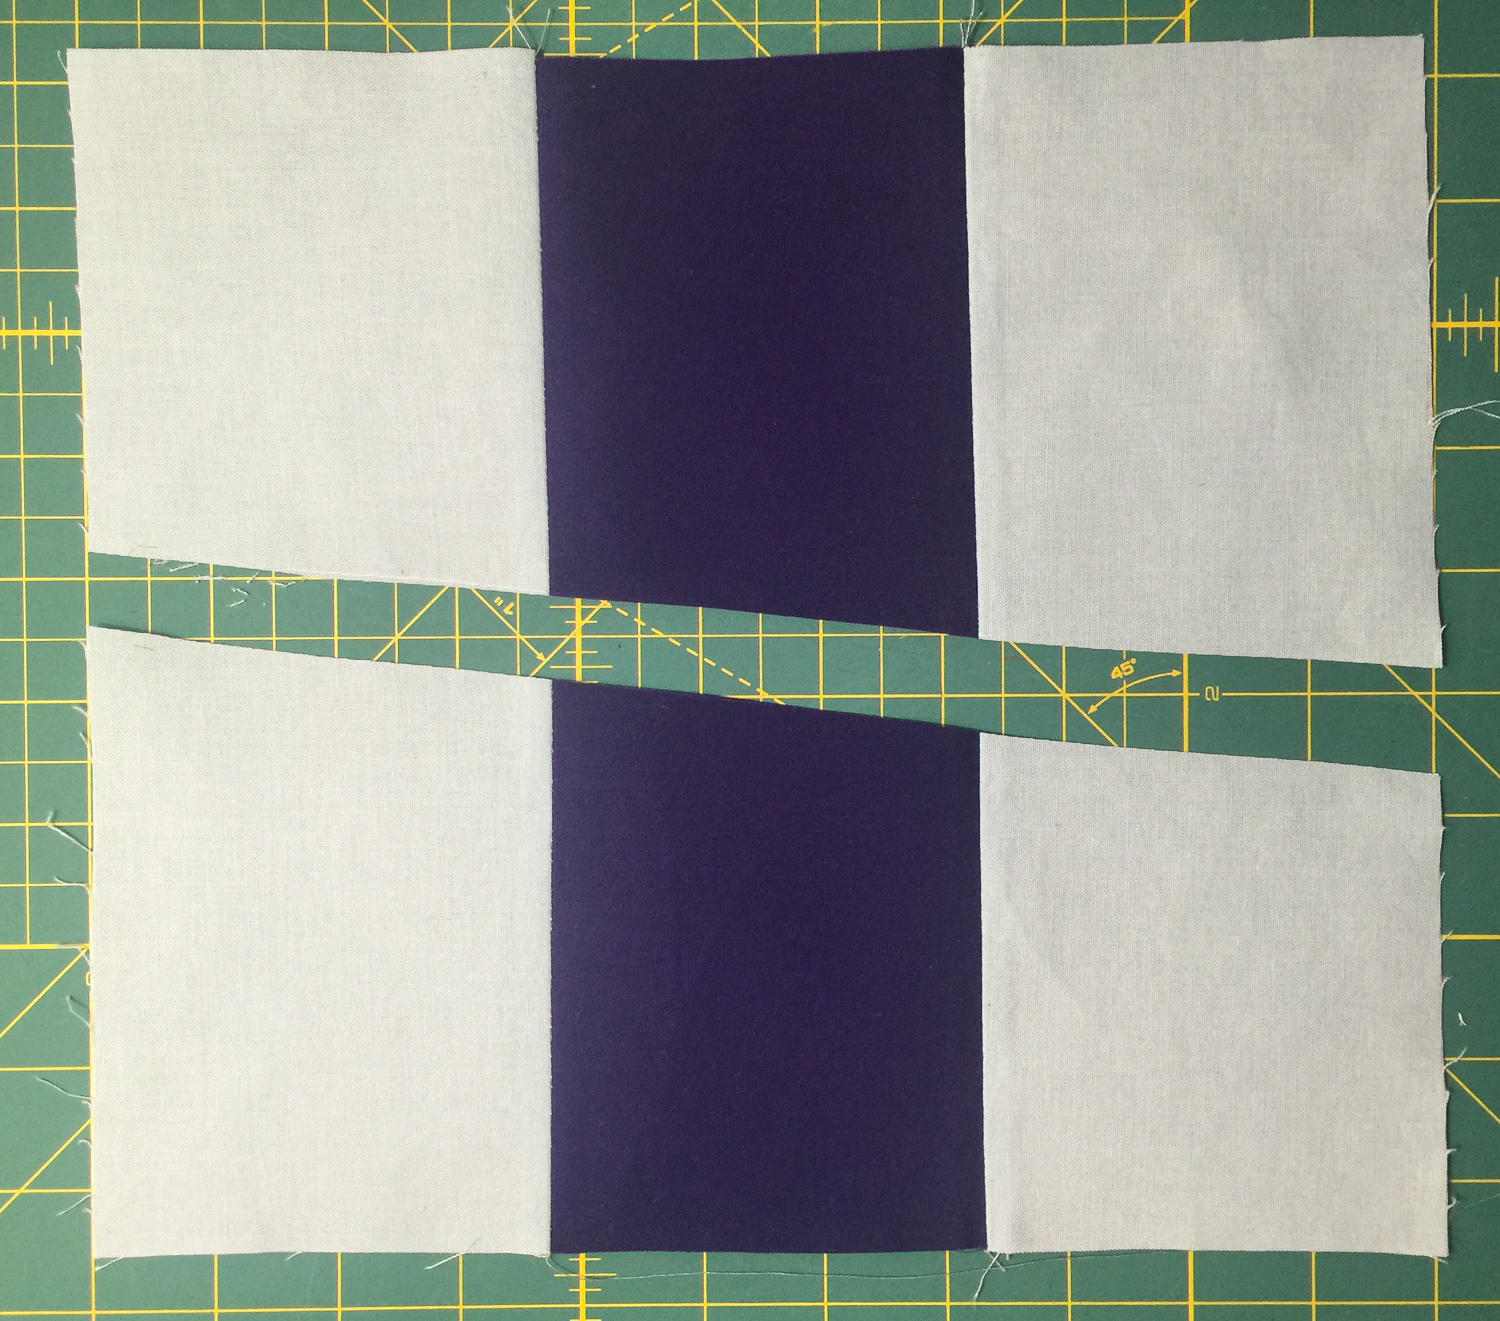
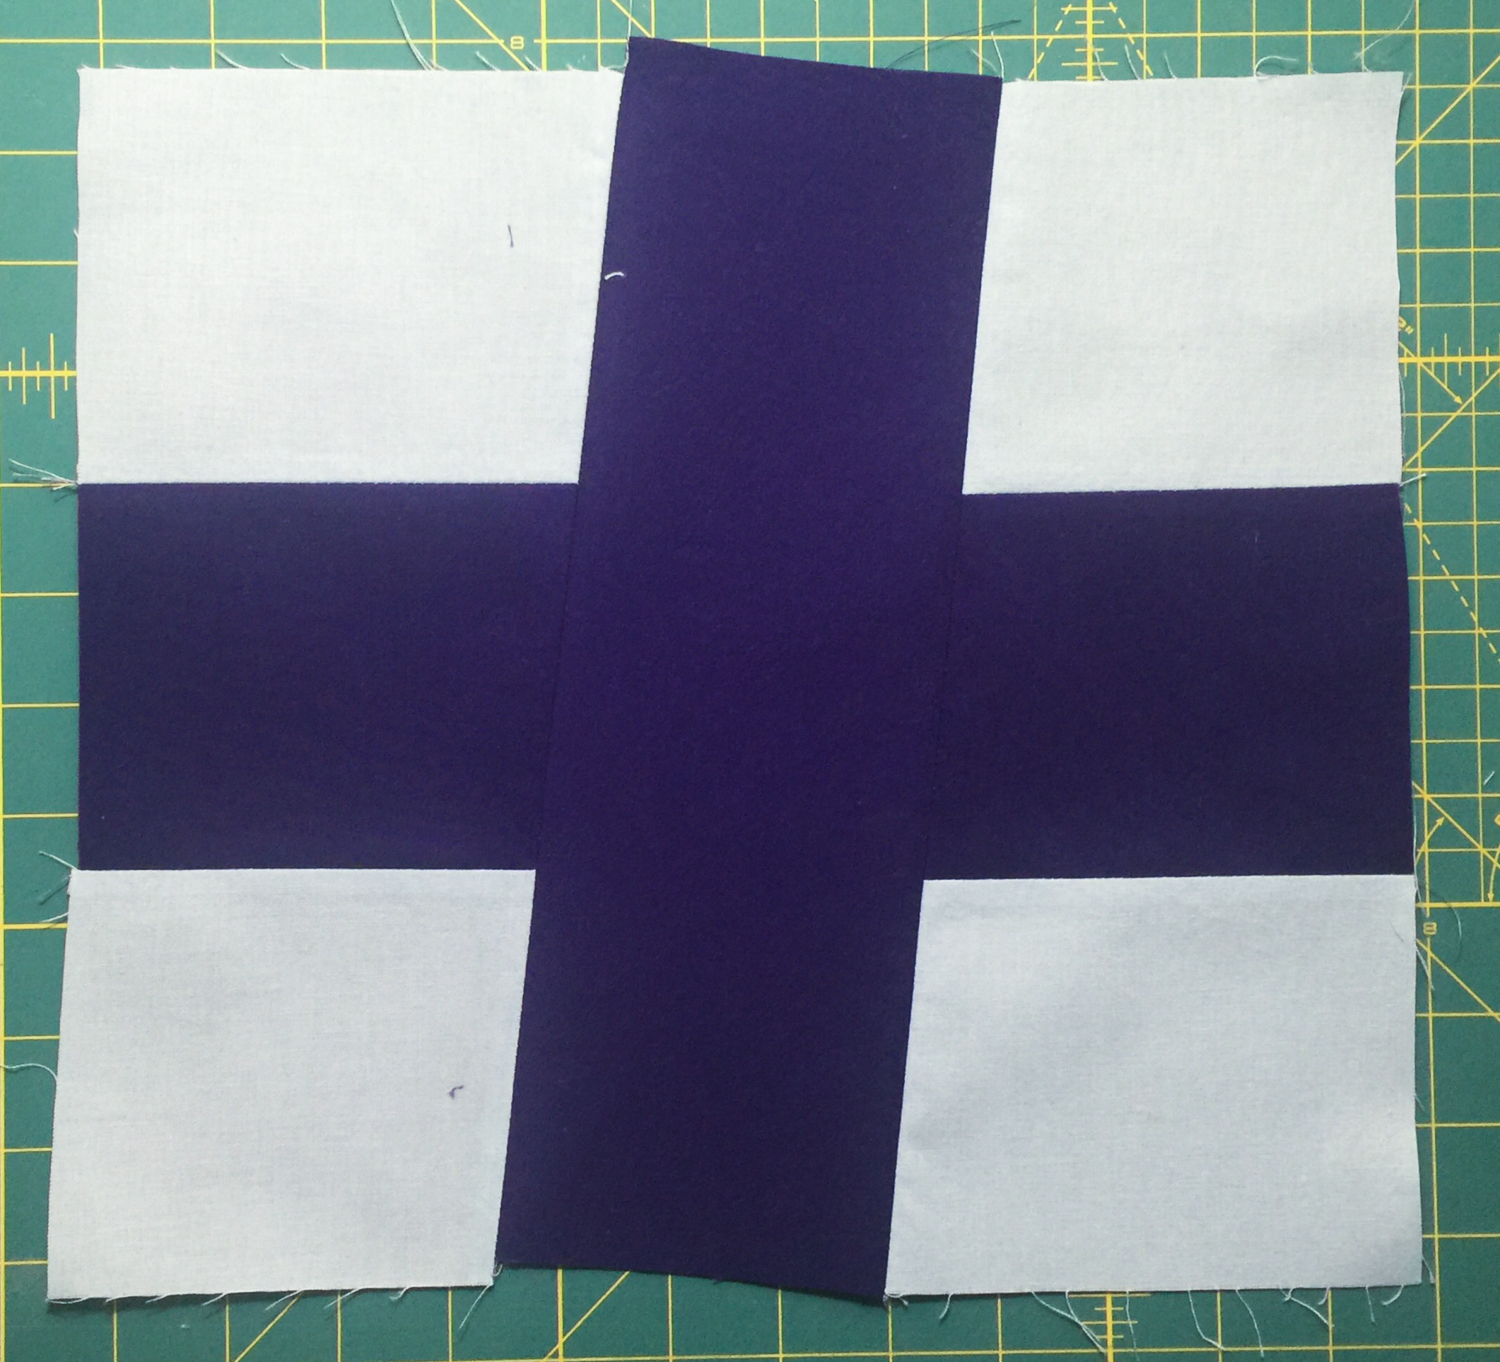
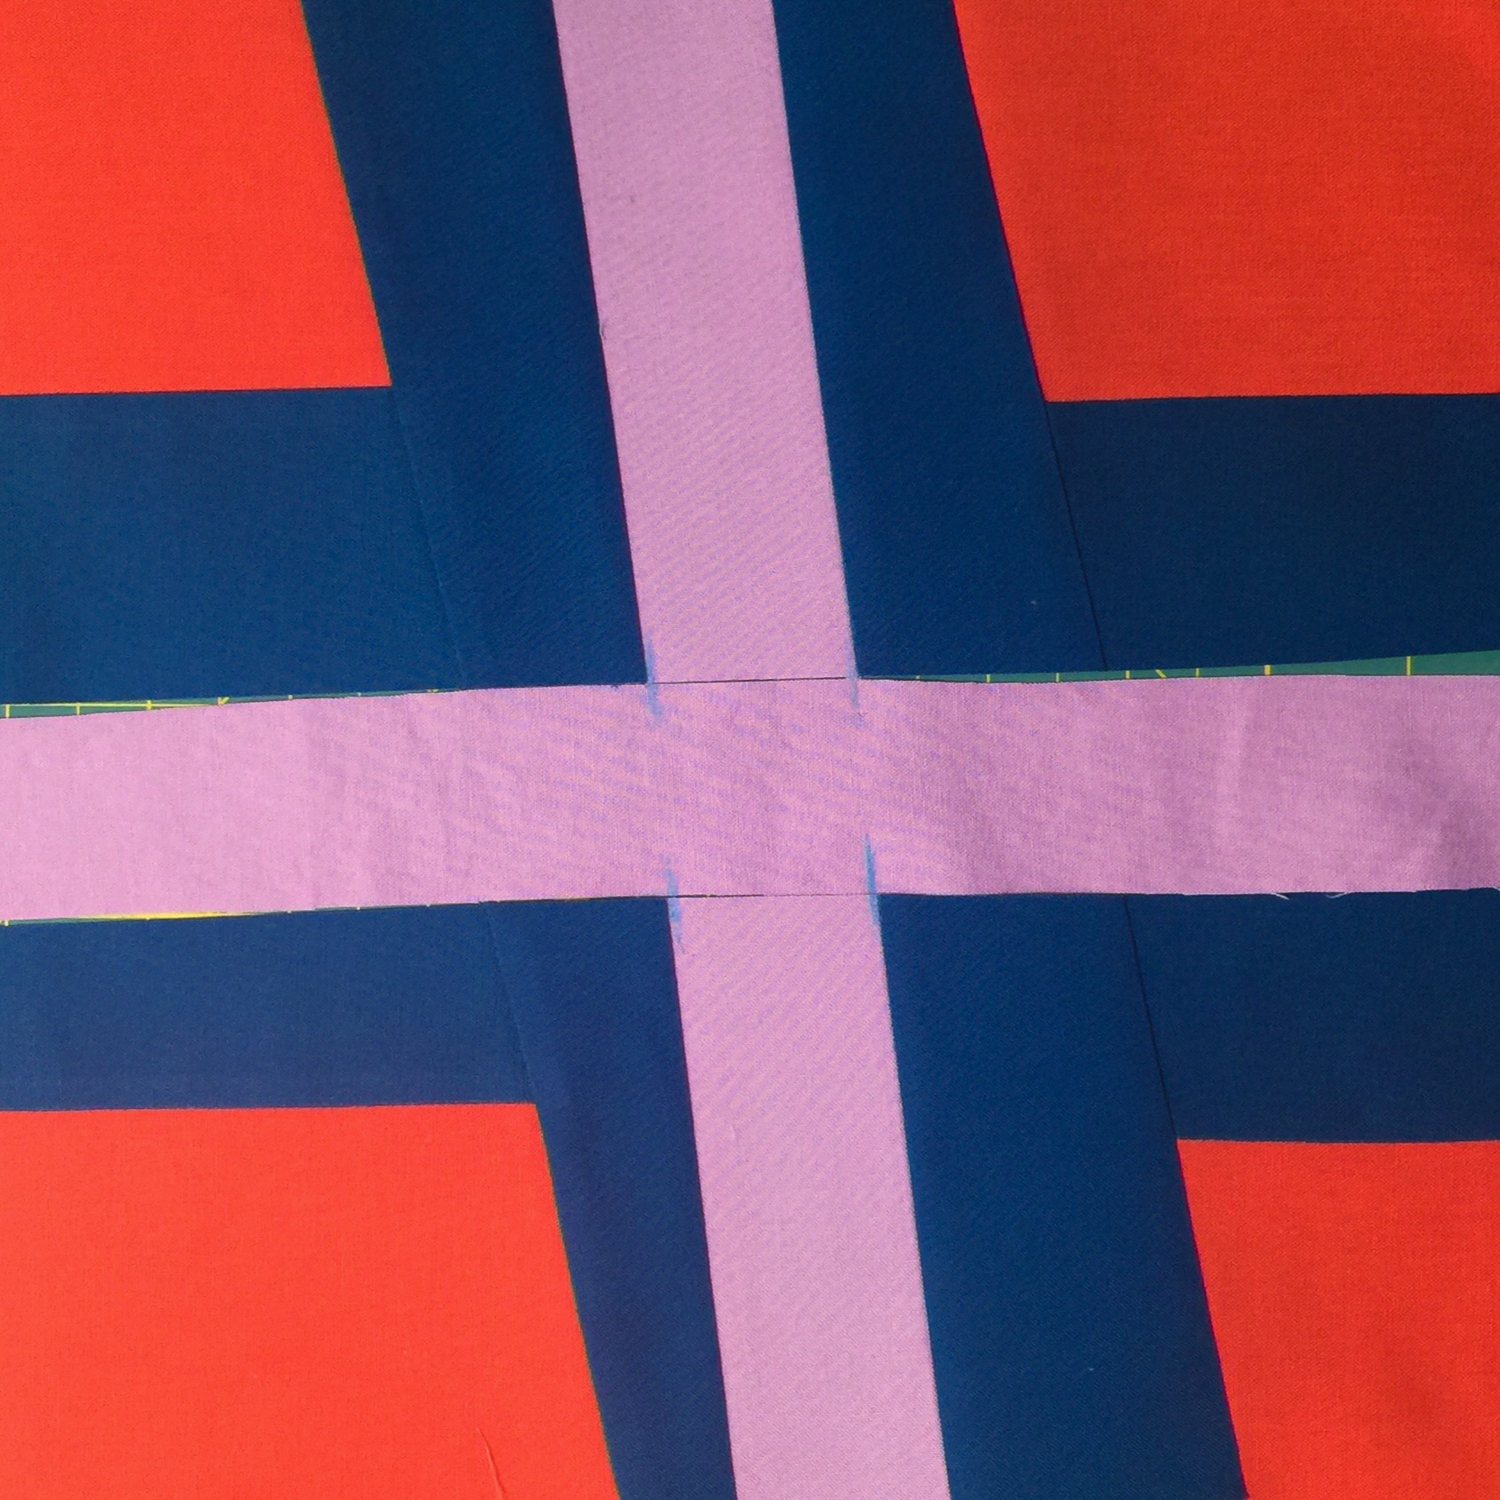
The pattern is really well written and illustrated. I did take photos as I put together my demonstration blocks, and so I’ve included them here with some brief notes for reference.
My best construction tip is to take care to line up your crosses. If you have ever tried a “slice and insert” technique (for example the popular Pick-up Sticks pattern) then you know that as soon as you add any kind of an angle to the mix, alignment becomes more difficult. What I did was line up my two halves with the strip that I’m inserting, and make a mark where the cross should intersect. Then I can flip the fabric over, line up my marks and pin before sewing the two seams. See Fig. 8 in the demo photos below. I use Clover chalk pens but you can also use those special purple markers, or mark with pins.
Otherwise, these are really quite simple and adorable blocks and I had a blast making them. I made three smaller ones (11-12 inches approx) and a giant 24 inch jumbo size in no time at all. I know that my talented hive mates will send me some gorgeous blocks to complete our quilt!
